How to View & Reset Data Usage in Windows 10

Windows 10 was launched almost two years ago, but the initial version of the operating systems was quite buggy and it was not appealing to many users. However, the latest stable Creators Update for Windows 10 includes various new features and design tweaks.
How to View & Reset Data Usage in Windows 10

If you use a Windows 10 PC regularly then you might have noticed that there is a built-in tool to monitor your PC's data usage for different Internet connections. It is an efficient feature and shows the data usage of every applications for the last 30 days.

View Network Data Usage in Windows 10
Follow the following steps to get a glimpse of your data usage in the last 30 days:
  • Open Settings app by pressing Window+I key simultaneously.
  • Click on the "Network & Internet" option.
View Network Data Usage in Windows 10
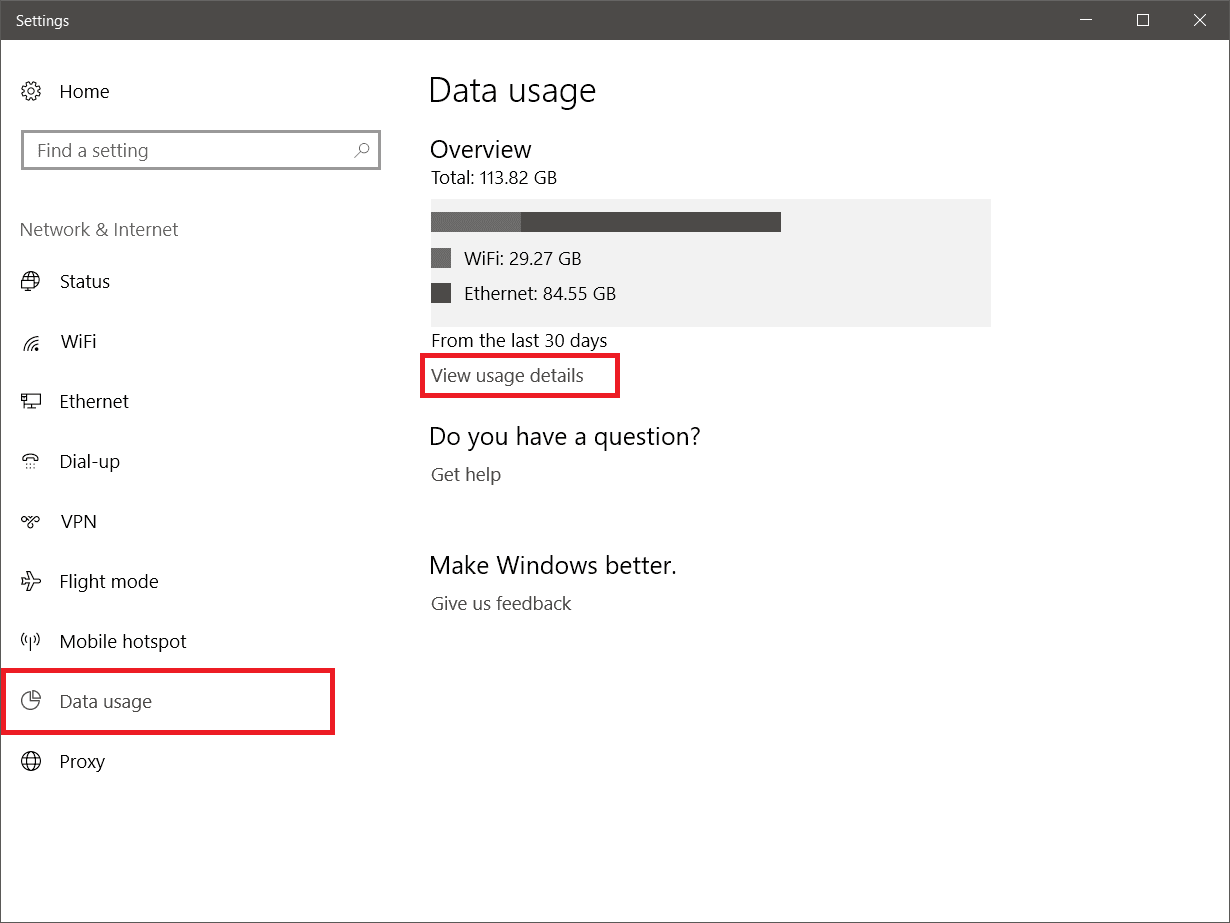
  • Next, go to the "Data usage" section from the left sidebar.
View Network Data Usage in Windows 10
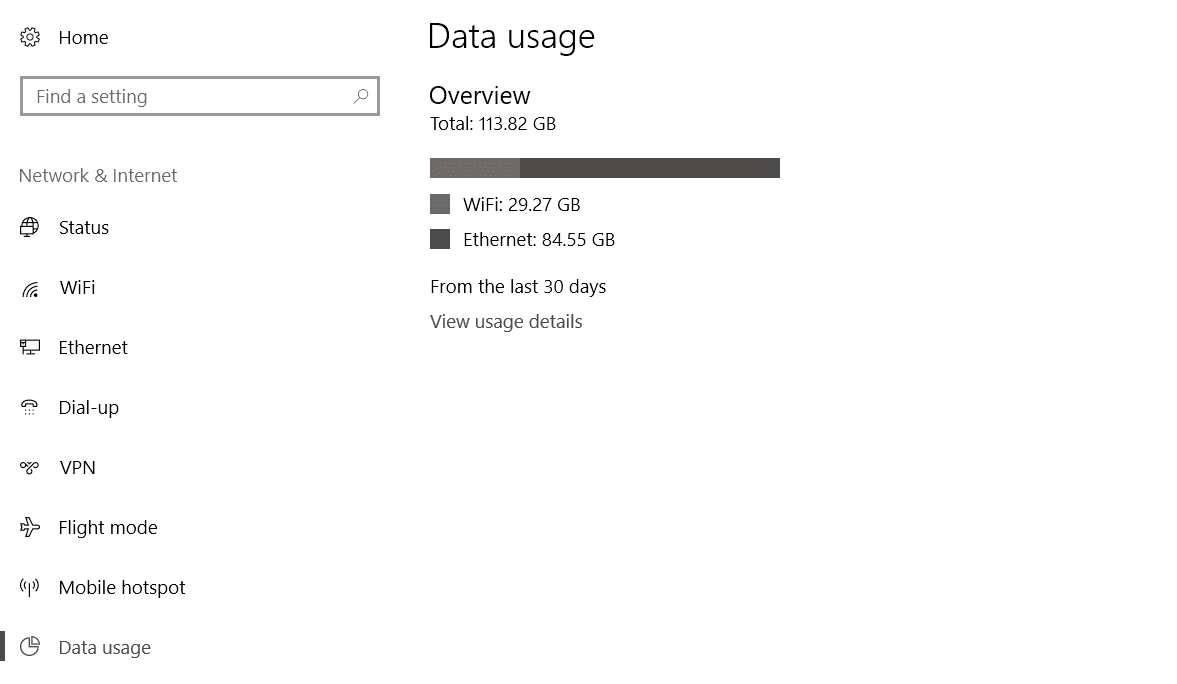
  • Now you can see the total data consumed by your PC in last 30 days. Click on the "View usage details" link to check the data consumed by each app.
If you are using Windows 10 from the initial versions then you might be have noticed that Microsoft has removed the direct link to reset the data usage counter. Actually, Windows stores the data usage in the sru folder located in "C:\Windows\System32\sru". To reset the data usage you will have to delete all the files available inside the sru folder by logging into Safe Mode.

Reset/Clear Data Usage in Windows 10
If you don't want to reset it manually or if you're just lazy today then you can use a third party app to reset the counter. In this tutorial, we'll use Reset Data Usage app to achieve the same result. It's a simple and lightweight portable app to complete this task smoothly.
  • Download the tool from here.
  • Extract the files and run the 64-bit or 32-bit version of the app as per your system's configuration.
 Reset/Clear Data Usage in Windows 10
  • Click on the Reset Data Usage button.
  • That's it!

Comments

Popular posts from this blog

How to Get Unlimited Ammo and Health in IGI 2

After many days I am sharing a cool and interesting trick for game lovers. Do you enjoy playing IGI2? Of course you like this game. But many of you may be facing verious difficult situations in completing this game. It's because the missions are really tough and you can't complete whole IGI 2 without using it's cheat codes. There are many hacking tricks for IGI available in the Internet but most of them don't work. And this is the reason I am sharing these cheat codes to you. After reading this post you will be able to play this game without losing any health and ammo. We'll use a lite application to achieve the immortality and infinite number of ammo in this game. You will have to download the software from the link that I will provide you a little later in this post. Let's first know what this software will do. It will allow you to keep your health unlimited in IGI game. And if the health will not decrease then you will never die in the game IGI. You wil...

Enhancing Productivity with Virtual Desktops in Windows 11

In the fast-paced digital age, multitasking has become an essential skill for maximizing productivity. With the release of Windows 11, Microsoft introduces an enhanced Virtual Desktop feature that empowers users to organize their workspace, manage tasks efficiently, and seamlessly switch between different contexts without the clutter. In this article, we'll delve into the world of Virtual Desktops in Windows 11 and explore how this powerful tool can elevate your productivity to new heights. Task View  The Power of Virtual Desktops Virtual Desktops in Windows 11 provide users with a dynamic way to manage their open applications and tasks. Think of them as separate workspaces, each with its own set of open apps, files, and windows. This allows you to group related activities together, effectively creating a focused environment for different projects, tasks, or workflows. Getting Started with Virtual Desktops Setting up and using Virtual Desktops in Windows 11 is a breeze: 1. Creating...

Block Annoying Ads in Google Chrome with Adblock Plus

Have you ever how some of the ads annoys peoples. Let's say you go to some website to download your favorite song but when you visit that site, you are welcomed with more than two or three pop-ups ads. Some websites keep more that two or three pop-ups and ads, they can place as many as 10 pop-ups on one single page. When you will visit a particular page the pop-ups will be opened automatically. We understand they need money to run their company but they should look for some good ways to show ads rather than showing forced pop-up ads, they can show ads if it that ad is relevant to their users or most of their visits their for that types of readings. Anyway, if you are really annoyed with these pop-up ads and wanted to block them than you can use a Google Chrome extension which is named Adblock Plus. This software can handle these pop-up ads very easily. It will not only block your pop-ups, it will also block the advertisement that is shown in the page too. After installing this app...